
Sassでは、セレクタのネストを使用して、階層的なCSS記述を作成できます。
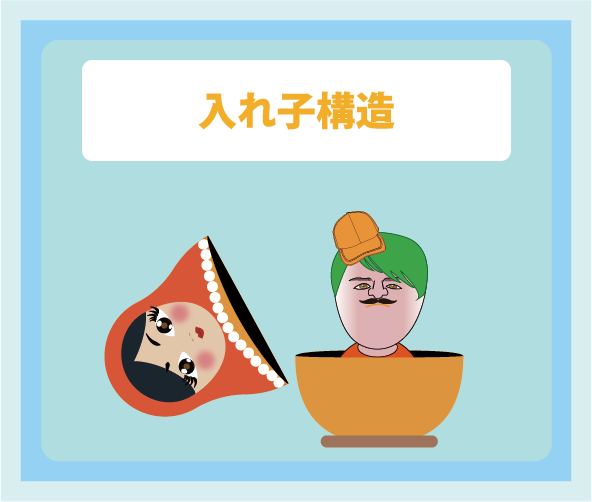
セレクタのネスト
記法
.クラス名 {
プロパティ : プロパティ値;
プロパティ : プロパティ値;
.クラス名 {
プロパティ : プロパティ値;
.クラス名 {
プロパティ : プロパティ値;
プロパティ : プロパティ値;
プロパティ : プロパティ値;
}
}
}
<!DOCTYPE html>
<html lang="ja">
  <head>
    <meta charset="UTF-8" />
    <meta name="viewport" content="width=device-width, initial-scale=1.0" />
    <link rel="stylesheet" href="cssのリンク先" />
    <title>セレクタのネスト</title>
  </head>

  <body>
    <div class="container">
      <div class="content">
        <h2 class="title">blog運営について</h2>
        <div class="explain-erea">
          <div class="lead">
            <p>当ブログを運営しているトモジです。</p>
            <p>
              画像や最低限の説明文で理解できる事や、
              気になる内容にすぐ遷移できる動線を意識して作成しております。
            </p>
          </div>
          <img class="tomoji" src="./tomoji-face_20231017.png" />
        </div>
      </div>
    </div>
  </body>
</html>
以下のcssとscssは同一デザイン記述になります
Sass
.container {
  width: 90%;
  margin: auto;
  .content {
    .explain-erea {
      background-color: aliceblue;
      width: 100%;
      display: flex;
      justify-content: space-between;
      padding: 1rem;
      .title {
        font-weight: bold;
      }
      .lead {
        width: 70%;
      }
      .tomoji {
        width: 100px;
        height: auto;
      }
    }
  }
}
css
.container {
  width: 90%;
  margin: auto;
}
.container .content .explain-erea {
  background-color: aliceblue;
  width: 100%;
  display: flex;
  justify-content: space-between;
  padding: 1rem;
}
.container .content .explain-erea .title {
  font-weight: bold;
}
.container .content .explain-erea .lead {
  width: 70%;
}
.container .content .explain-erea .tomoji {
  width: 100px;
  height: auto;
}
出力結果
blog運営について
当ブログを運営しているトモジです。
画像や最低限の説明文で理解できる事や、 気になる内容にすぐ遷移できる動線を意識して作成しております。